How To
Take your first artistic steps into Procreate
- July 20, 2022
- Updated: July 2, 2025 at 3:34 AM
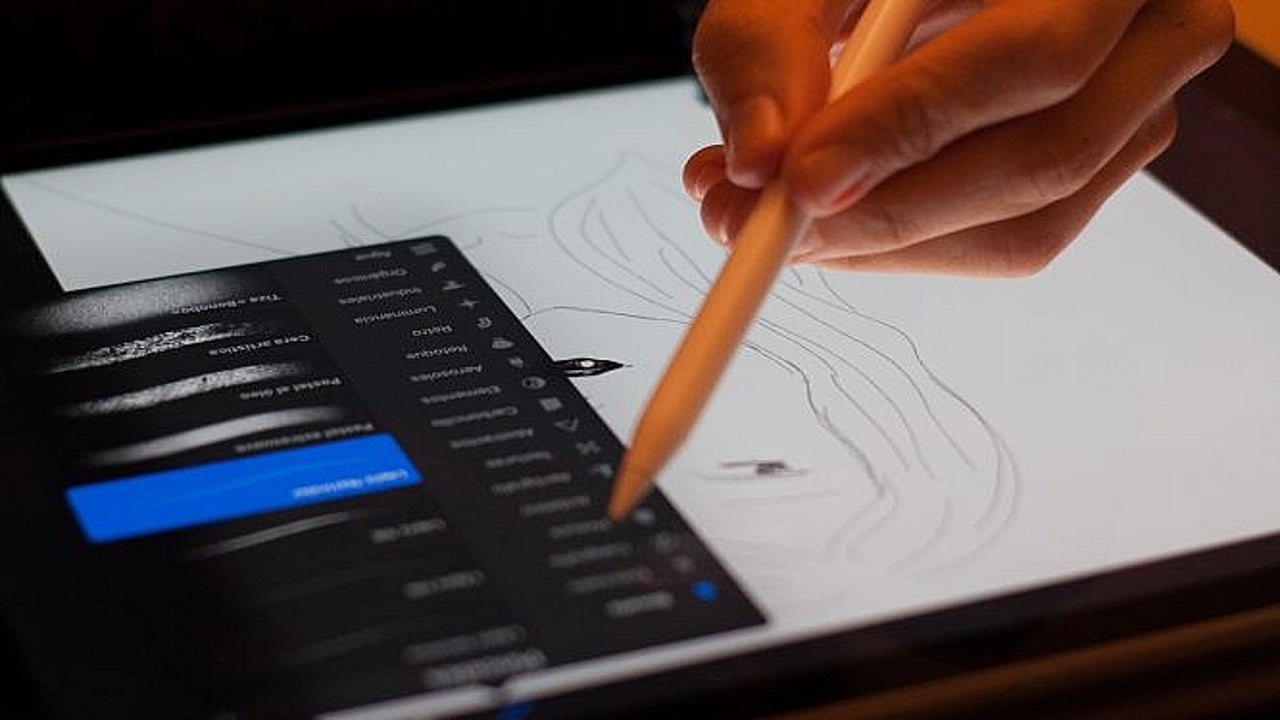
Are you dying to express your inner artist, but you don’t have paper or your drawing tools nearby? Procreate is an outstanding app that lets you design with many features, but you’ll need to learn how to use it first.
You’re about to be taught the first steps for creating your canvas masterpiece in Procreate on your device. In this blog post, you will discover how to start making art with this fun and exciting app. Let’s start with the basic steps for Procreate.
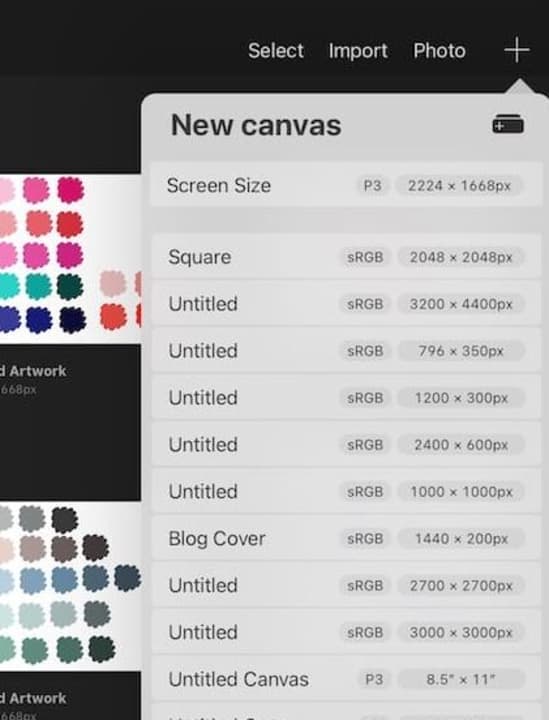
Creating a canvas on Procreate
To do this, you need to click on the + symbol within Procreate. You will see this in the gallery in the top right corner. You can pick from various canvas sizes. Just tap on the right size and begin. You can also choose to import other materials using the + symbol.
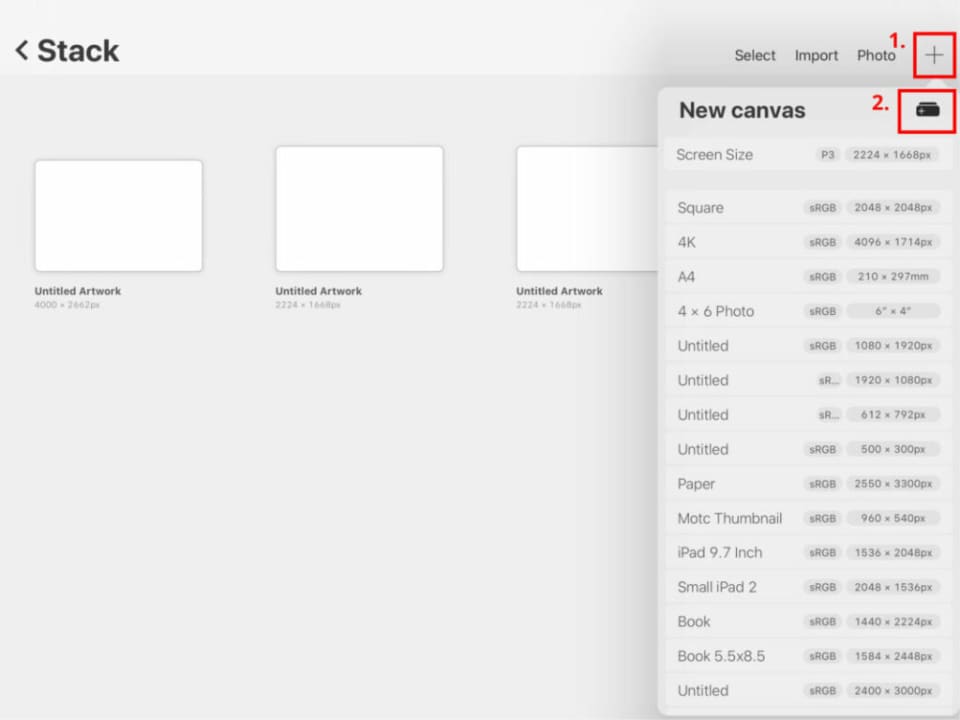
Create a custom canvas size
If you’re not happy with the canvas sizes on Procreate, you can also create a custom canvas size. Now just click on the + symbol. This will open a new window where you can adjust the various settings. You can change the dimensions, time-lapse, color, and other canvas properties. It’s best to title your canvas, which will help you find it later.
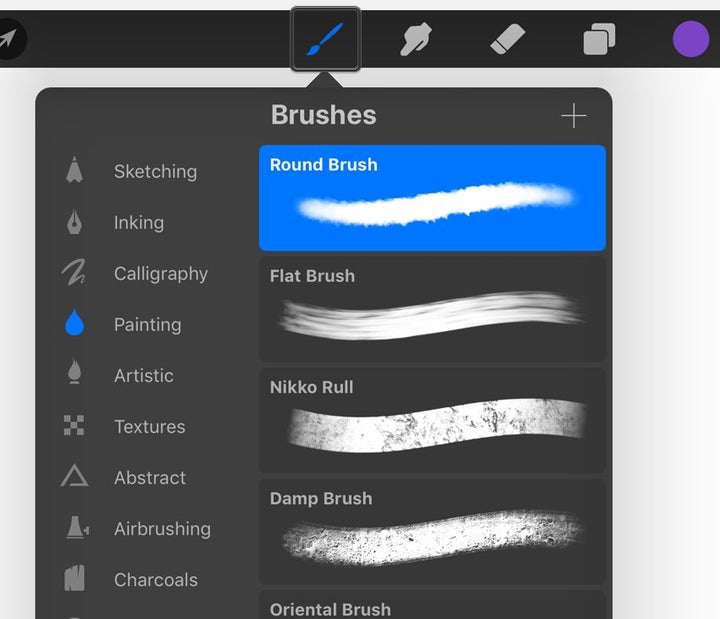
Choosing the right brush
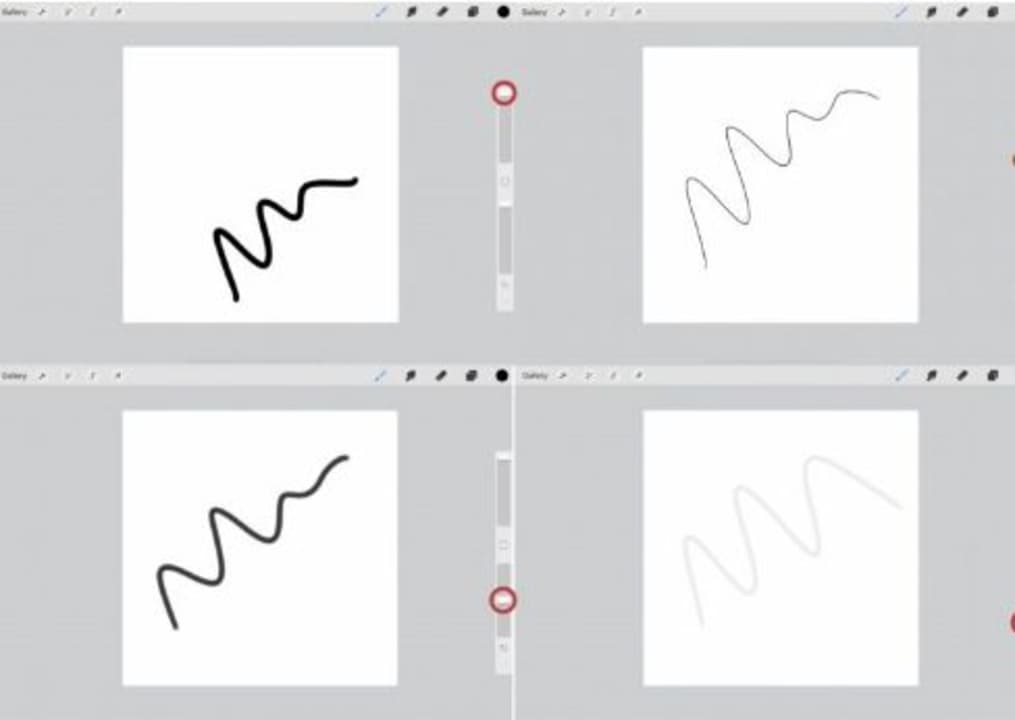
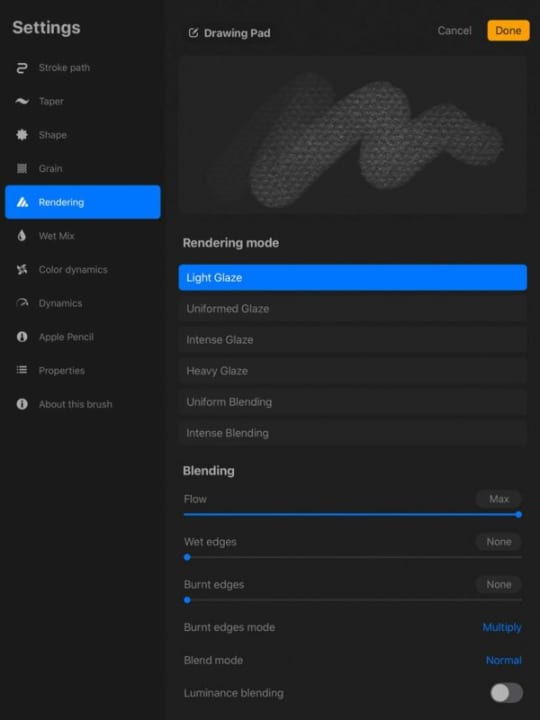
Now that your canvas is ready, you must pick the right brush. In the upper right corner of the Procreate app, you will see a brush tool.
You then need to adjust the brush settings. There are various functions to try, like adjusting the opacity and size. You can do this with the help of sliders to the screen’s left.
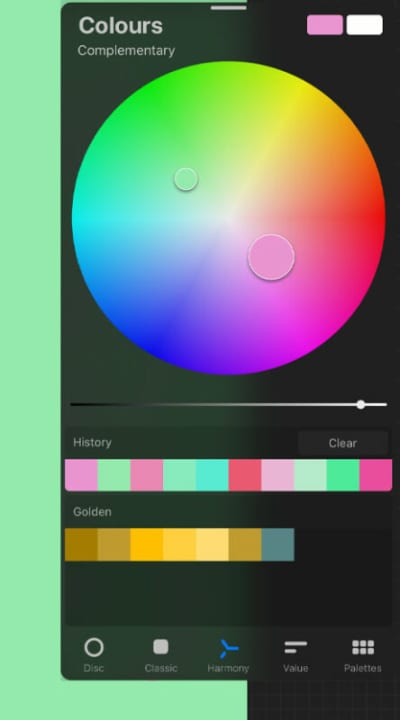
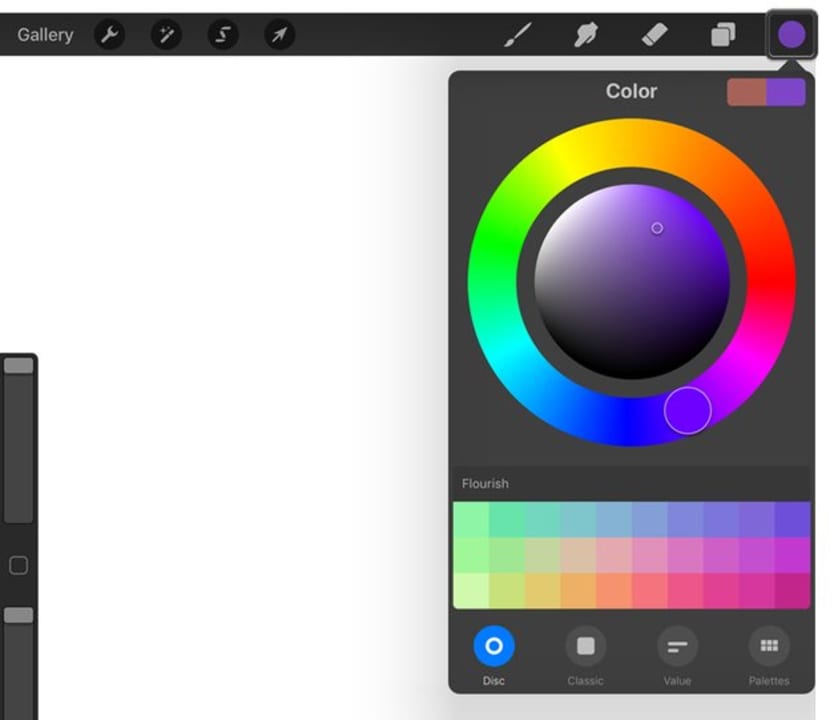
Choose colors
Once you’re ready to draw on Procreate, choose your preferred color. You will see the circle in the top right corner. Upon clicking the circle, you will see the color panel. Pick the color that you prefer and begin creating your masterpiece.
Basics of Procreate
Let’s learn about the basic tools in Procreate. Each section below delivers an explanation about a specific function or feature, which will assist you in your first steps with this artistic app.
Brushes
As we’ve seen above, you can adjust the settings for your Procreate brush. Let’s look at this in detail and how to adjust your brush per your preference. You need to find the brush tool in the upper right corner of the screen.
You can even import your brushes or create custom brushes. Another option is to select the thickness of your strokes. You can even pick how light or dark you want your strokes.
Color customization
Besides selecting colors, you can also customize them based on your choice. The harmony tool lets you pick a color based on your choice. The value tool allows you to define specific colors in the palette. You can even save these colors.
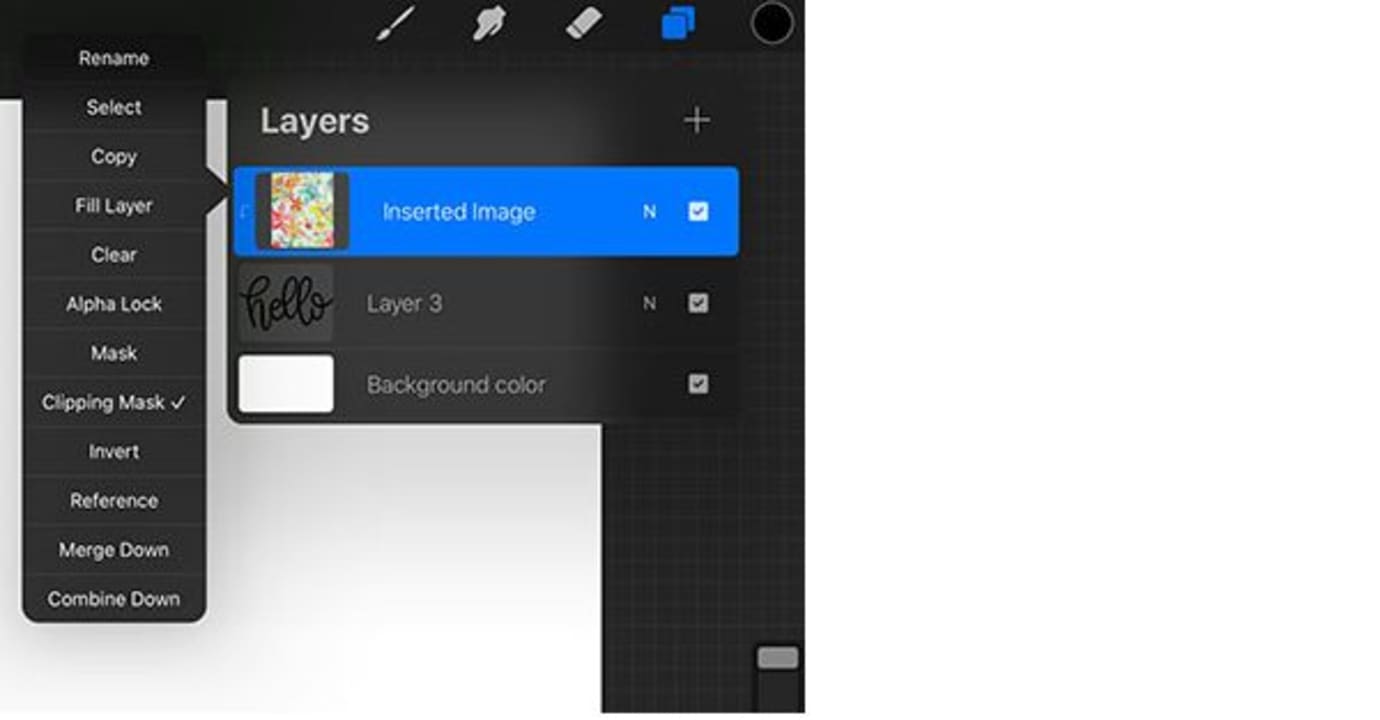
Layers
You will see an icon that has overlapping squares. Tapping this will open the layers panel. Various layers will open based on the pixels. You can insert more layers by clicking on the + symbol.
You can edit independent layers and delete, lock, or duplicate them. Also, you can name individual layers.
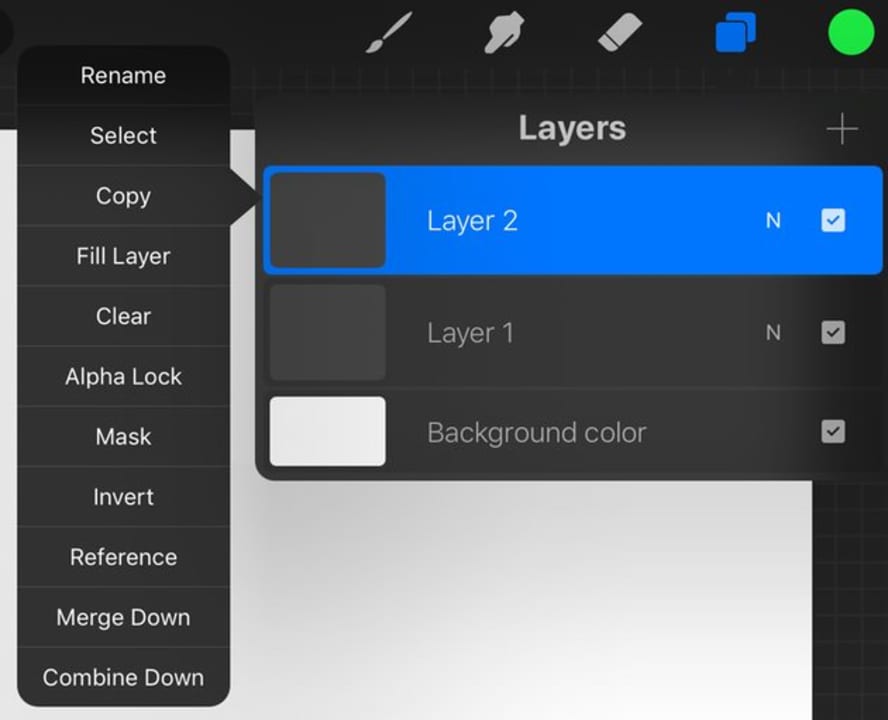
Clipping mask
You can convert individual layers into a clipping mask. Any changes made to the clipping mask will only affect the layer below it. Another way to use the clipping mask is to create a layer under it.
Procreate Settings
To open the settings menu, you need to tap the wrench icon. This panel will allow you to adjust your canvas settings. You can also add text or photos to your canvas from the settings menu. Also, save your finished project when you’re here.
You can even choose to record your painting process. Do this by tapping on the video and then choosing time-lapse. Once completed, you can export your recording.
Magic wand
You can also apply different filters to your completed image. These filters can be found in the top left corner. All you need to do is tap the magic wand icon.

Other Procreate tools
The selection tool is represented by an S in the top left menu. The selection tool can help you cut image parts or create duplicate areas.
You can blur a part of your image using your finger icon. Located next to the finger is the eraser tool. You can choose the opacity and size of the eraser tool as per your preference.
You will see an eyedropper tool upon tapping and holding onto the canvas. This tool allows you to pick colors from images. If you need to rotate your image, you need to tap it with two fingers and rotate it. You can also zoom into the image using your fingers.


You may also like
 News
NewsThe players of this MMORPG have spontaneously decided that their new god is a crab
Read more
 News
NewsSouth Park is only available on one streaming platform, but it's for the good of the series
Read more
 News
NewsThis Star Wars series is shown to be the favorite among Disney+ viewers
Read more
 News
NewsLiam Neeson turned down the role in one of Spielberg's most prestigious films that won an Oscar for its actor
Read more
 News
NewsDaredevil and Punisher have a new deadly confrontation this coming November
Read more
 News
NewsBioWare says that one of their latest games was approved by EA when it was compared to FIFA
Read more